

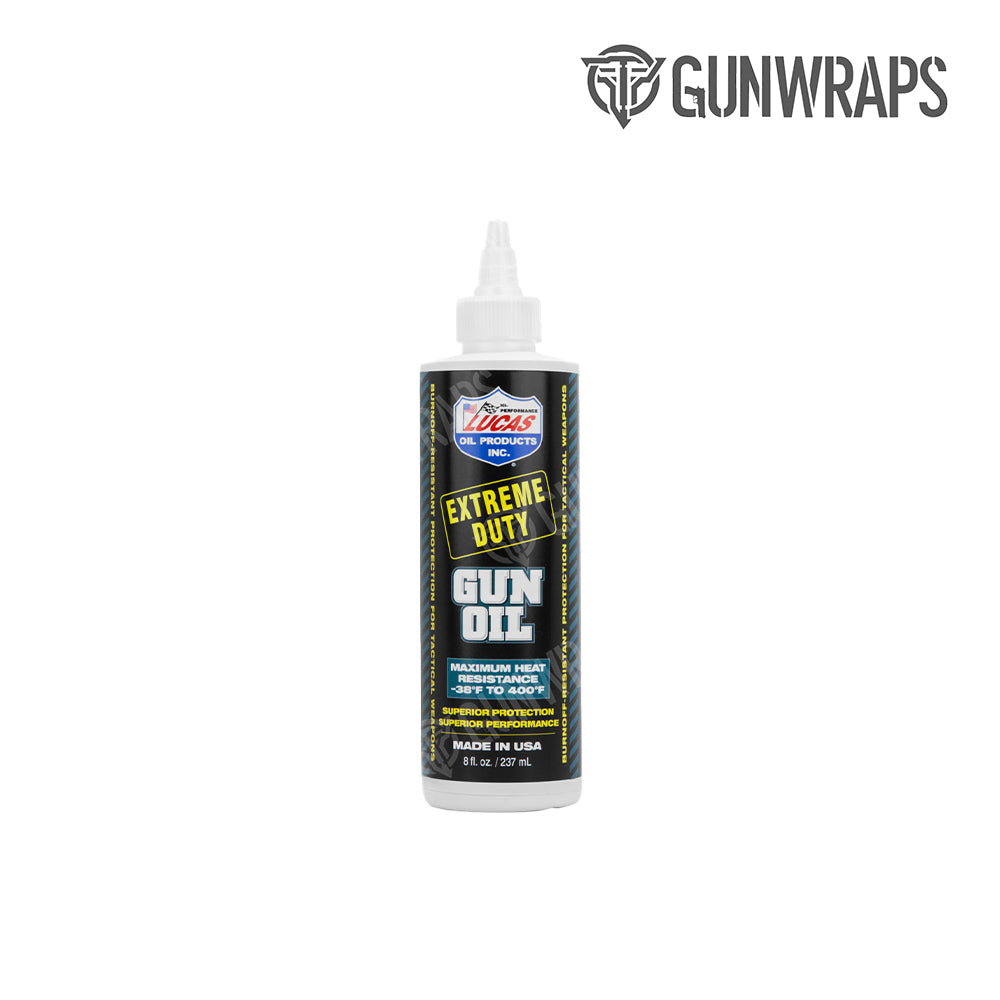


Step 1 - Cleaning: Before wrapping your rifle, it is vital to thoroughly inspect, prep, and clean the surface of your gun. Make sure your gun is empty before beginning the application process. Oil and grease will be present and must be completely removed. If not, the material will not properly stick to the surface. We recommend using a degreaser formulated for guns to remove any oil or grease from your gun's surface.
Isopropyl alcohol should be used to remove any residue left behind. It is helpful to use a small soft brush to scrub into the crevices of your rifle to ensure that your gun is clean. Wrapping your rifle with your bare hands may add natural oil or grease to your gun, so we recommend washing your hands with dish soap after cleaning your gun prior to installation.

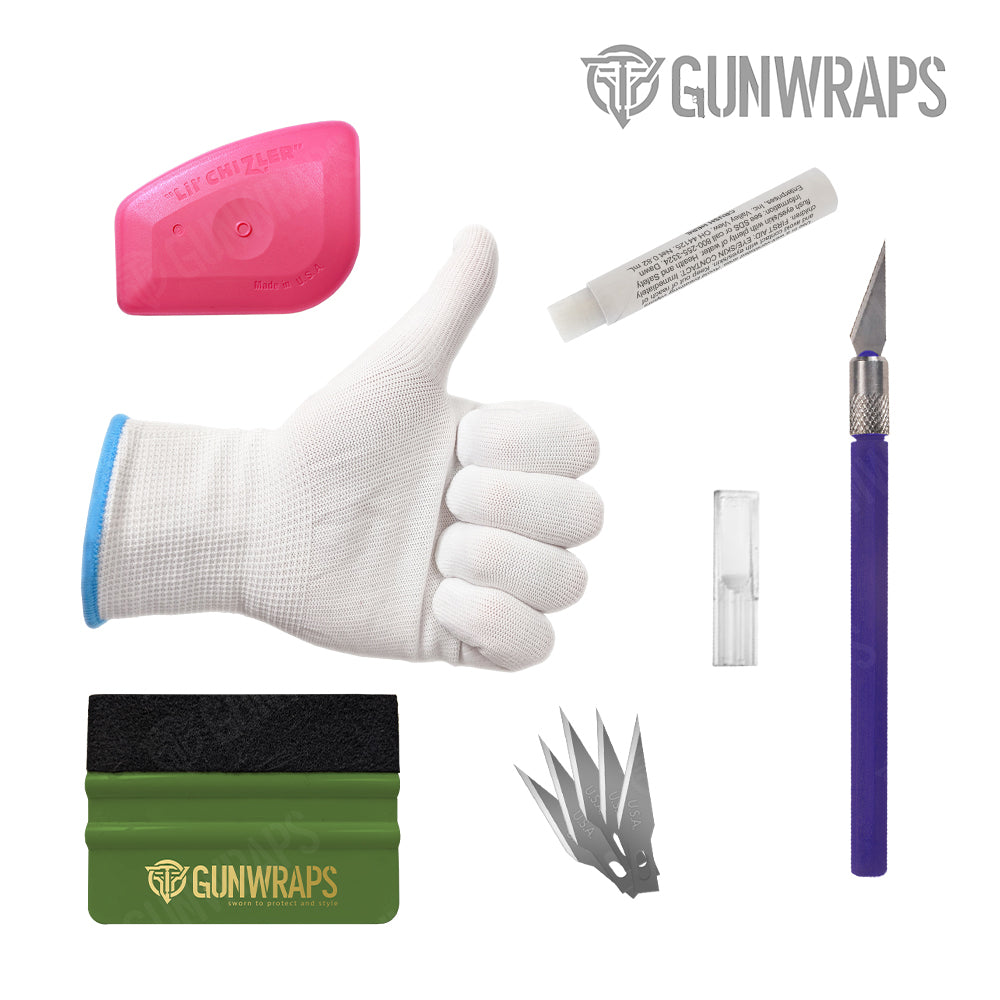
Step 2: Look at all the universal pieces included in your kit. Take your time removing pieces from the backing of the sheet as they can tear easily. See below

Step 3 Primer: (Optional step) Apply primer in curved problem areas that can lift to help with longevity of your wrap. See below.

Step 4: Its recommended to remove the bolt if wrapping a bolt action rifle. Center the foregrip sheet aligning the rectangular cut out on the trigger guard on the bottom of the rifle. Once aligned, trigger guard should sit centered inside the cut out as shown below. Apply firm pressure using your fingers or glove to secure the sheet in place. Trim excess wrap off the front only.


Step 5: Continue to apply the foregrip wrap as shown below. Our kits are universal and may require additional trimming for a custom fit. Apply firm pressure using your fingers or glove as you wrap around the foregrip. Trim all excess and apply heat to the whole wrapped area and the edges.

Step 6: Align pattern of the buttstock wrap to the pattern of the foregrip by overlapping as shown with the arrows below and apply firm pressure using your fingers or glove.

Wrap the buttstock and trim excess wrap, heat all edges and repeat step 6

Step 7: Place cut strip on the bottom of the entire length of the barrel slightly above the center line. See below

Center the barrel wrap to the top of the barrel using the v notches as shown below. Apply firm pressure using your fingers or glove to the bottom to secure the wrap in place

Trim front and back excess wrap as shown below

Continue to wrap one side all the way over the cut tape

Continue to wrap the side around the barrel then trim to the edge of the tape using light pressure to avoid scratching your barrel as shown below.

Place another cut strip over the wrapped side. Align it below the trimmed edge

Trim using light pressure along edge of the cut strip to avoid cutting through both layers. Remove the excess wrap and the cut strip.

Step 7: Go over the entire wrap with heat be sure all wrap is applied and trim any areas as needed.

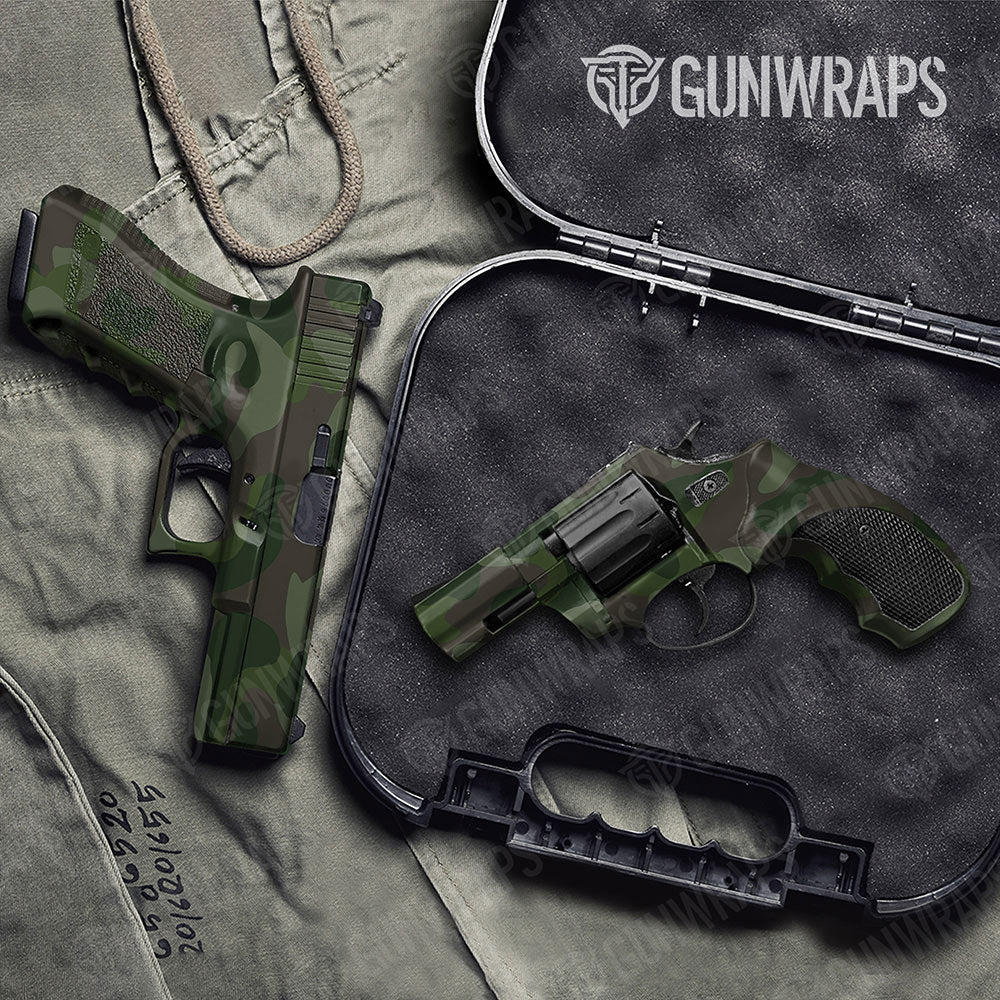
Enjoy your new rifle wrap


