


Application Tips & Tricks

How to Apply TactiGrip
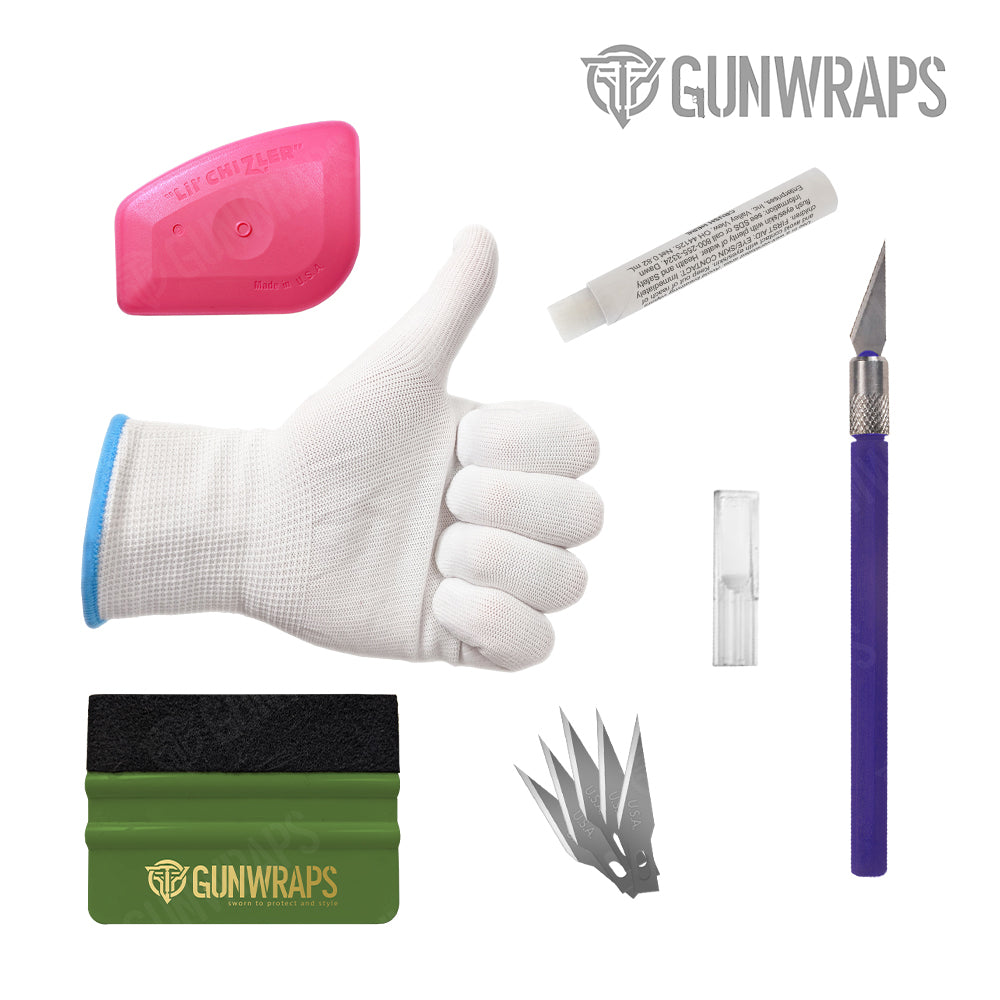
Thank you for purchasing TactiGrip! Each kit contains (1) 1.5 oz bottle of (Step One) Liquid Clear Coat, (1) 1 oz. shaker bottle of (Step Two) Glass Clear Grip and (1) foam application...
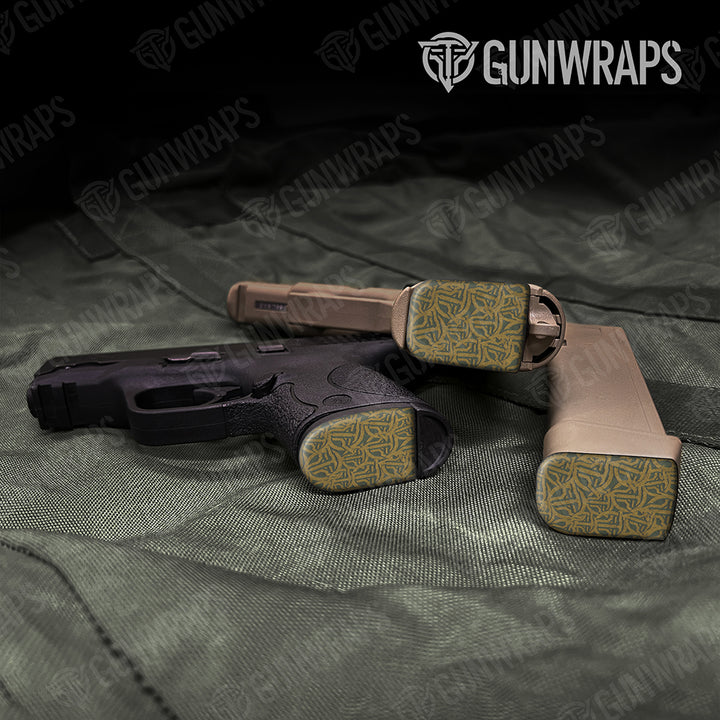
How to Apply GunWraps' Pistol Magazine Vinyl Gun Wrap Skin
Step 1: Ensure the bottom of the pistol magazine is clean and free of any debris, grease, oil, etc. Center the printed graphic on the film onto the bottom of...
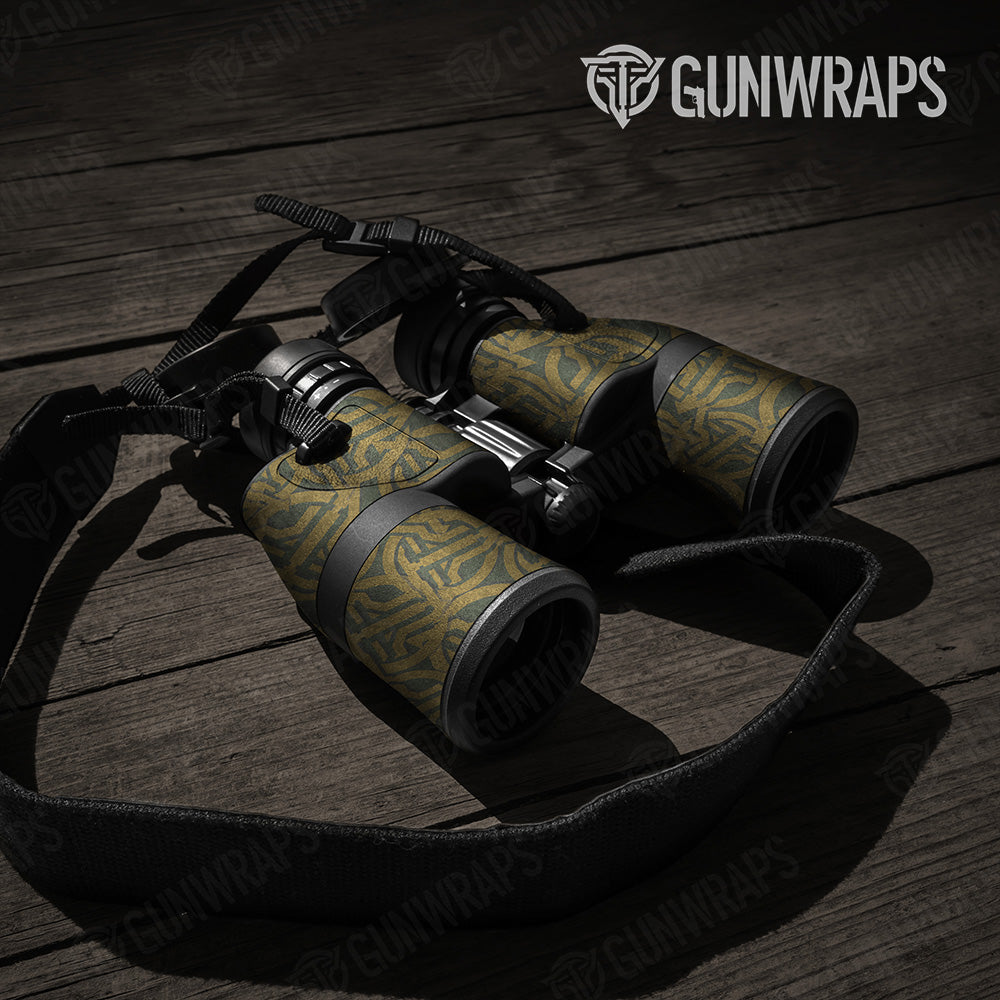
How to Apply GunWraps' Gear Vinyl Wrap Skin
Click here for Knife installation guide. Click here for Rangefinder installation guide. How to Apply GunWraps' Binocular Vinyl Gun Wrap Skin Step 1 - Cleaning: Before wrapping your binoculars, it is...
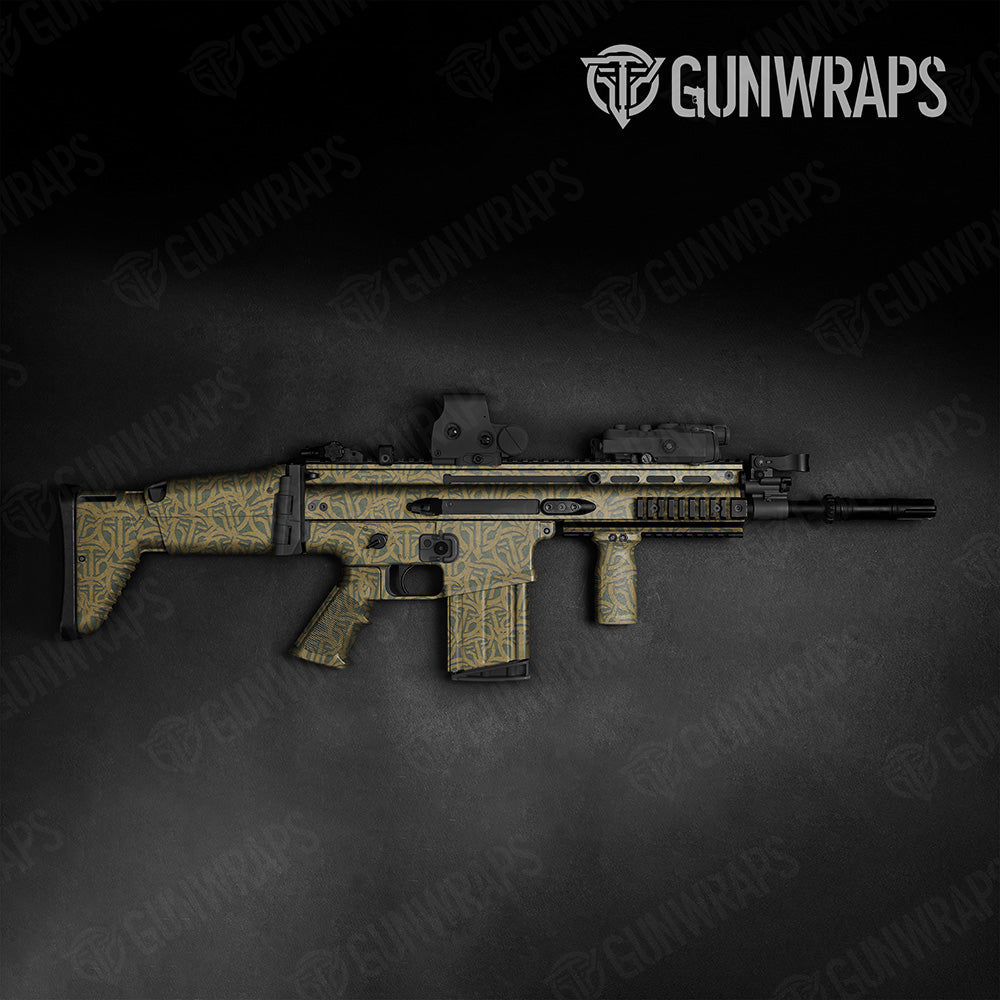
How to Apply GunWraps' Universal Tactical Vinyl Gun Wrap Skins
Step 1 - Cleaning: Before wrapping your Tactical Firearm, it is vital to thoroughly inspect, prep, and clean the surfaces being wrapped. MAKE SURE YOUR FIREARM IS UNLOADED before beginning the application process....
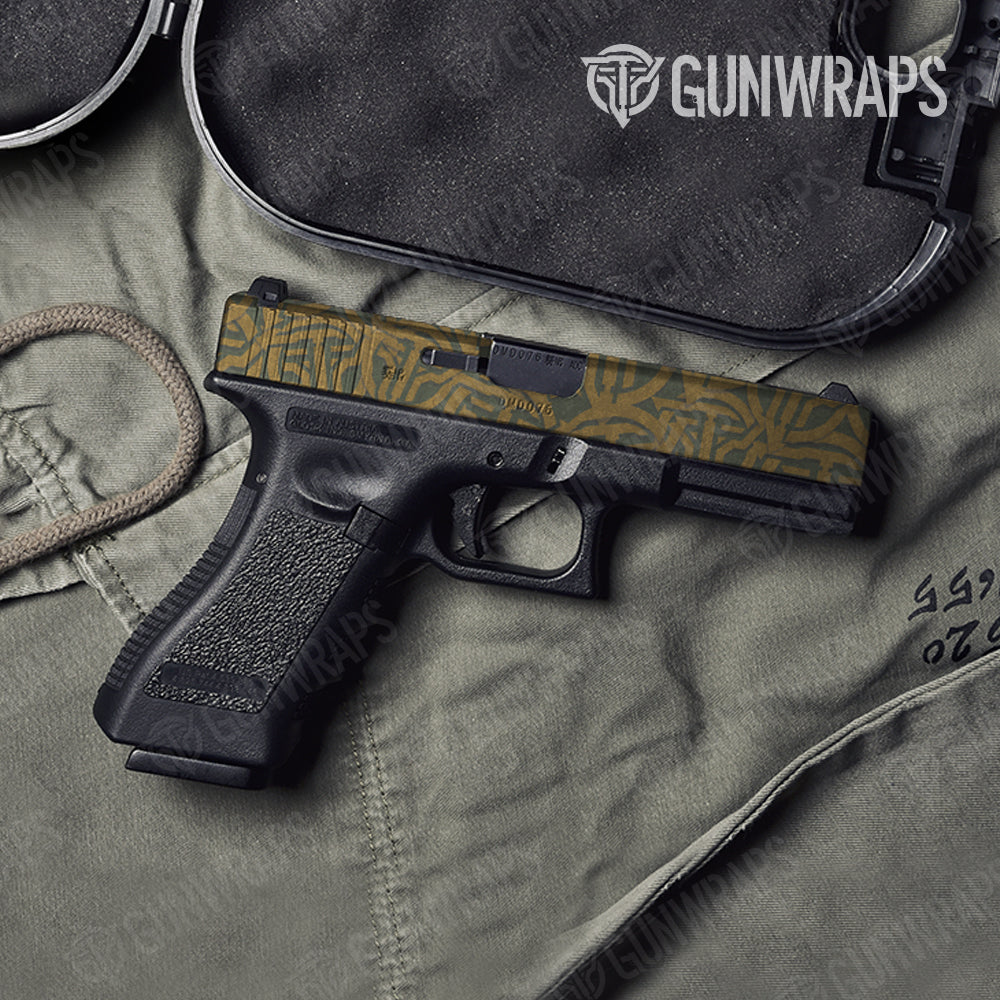
How to Apply GunWraps' Pistol Slide Gun Wrap
Step 1 - Cleaning: Before wrapping your slide, it is vital to thoroughly inspect, prep, and clean the surface of your gun. Make sure your gun is empty before beginning the application...

How to Apply GunWraps' Shotgun Vinyl Gun Wrap
Step 1 - Cleaning: Before wrapping your shotgun, it is vital to thoroughly inspect, prep, and clean the surface of your gun. Make sure your gun is empty before beginning the...

How to Apply GunWraps' AK-47 Vinyl Gun Wrap
Step 1 Cleaning: Before wrapping your AK-47, it is vital to thoroughly inspect, prep, and clean the surface of your gun. Make sure your gun is empty before beginning the application process....
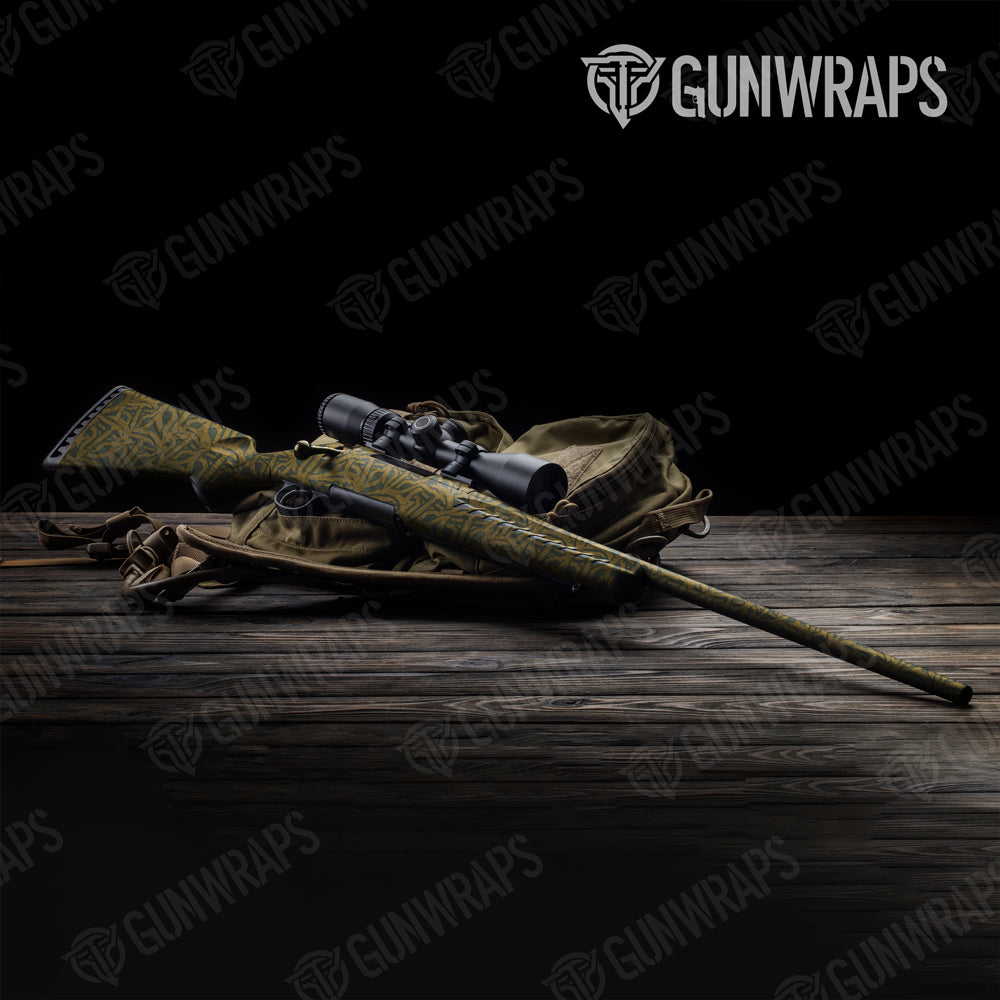
How to Apply GunWraps' Rifle Vinyl Gun Wrap
Step 1 - Cleaning: Before wrapping your rifle, it is vital to thoroughly inspect, prep, and clean the surface of your gun. Make sure your gun is empty before beginning the application...

How to Apply GunWraps' AR-15 Vinyl Gun Wrap
`` Step 1 Cleaning: Before wrapping your AR-15, it is vital to thoroughly inspect, prep, and clean the surface of your gun. Make sure your gun is empty before beginning the application...

How to Apply GunWraps' Mag & Mag Well Wrap Skins
Click here for mag well install. Step 1 - Cleaning: Before wrapping your Mag, it is vital to thoroughly inspect, prep, and clean the surface. Make sure your mag is...

How to Apply GunWraps' Handgun Vinyl Gun Wrap Skin
Step 1 - Cleaning: Before wrapping your handgun, it is vital to thoroughly inspect, prep, and clean the surface of your gun. Make sure your gun is empty before...


