

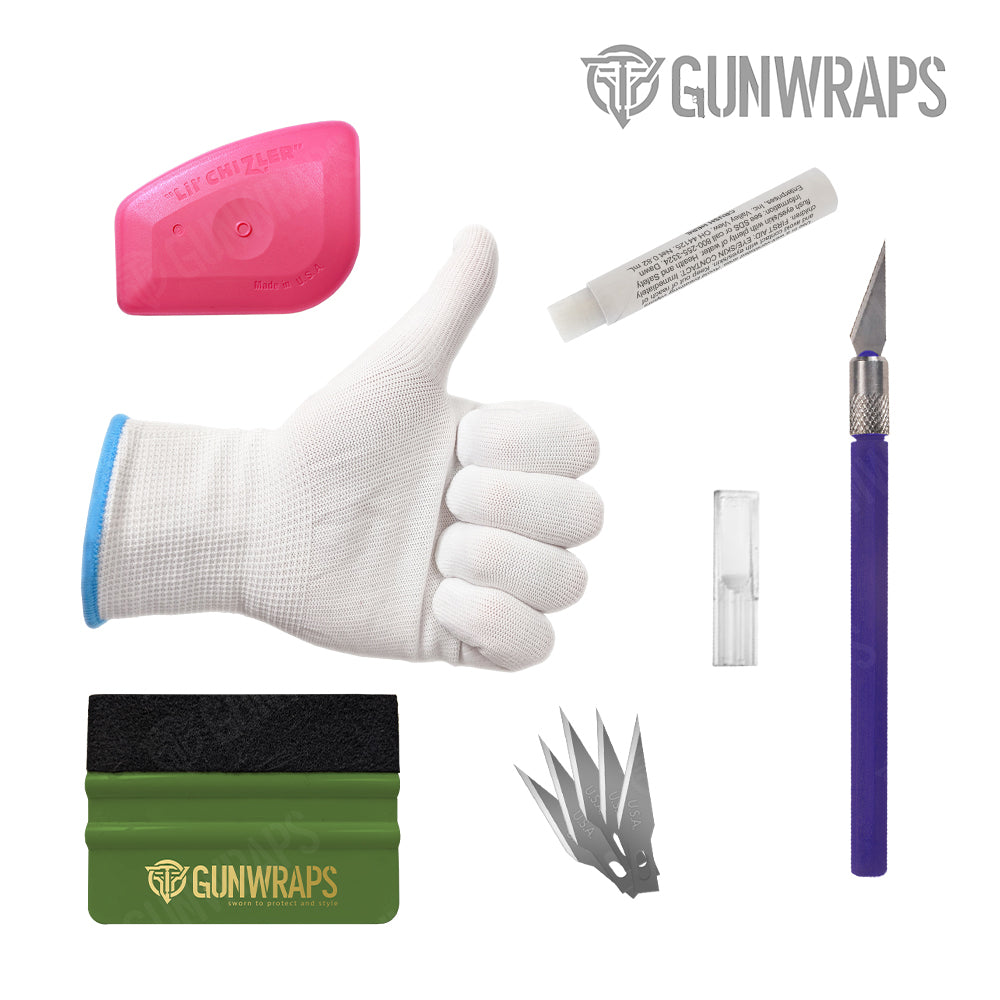
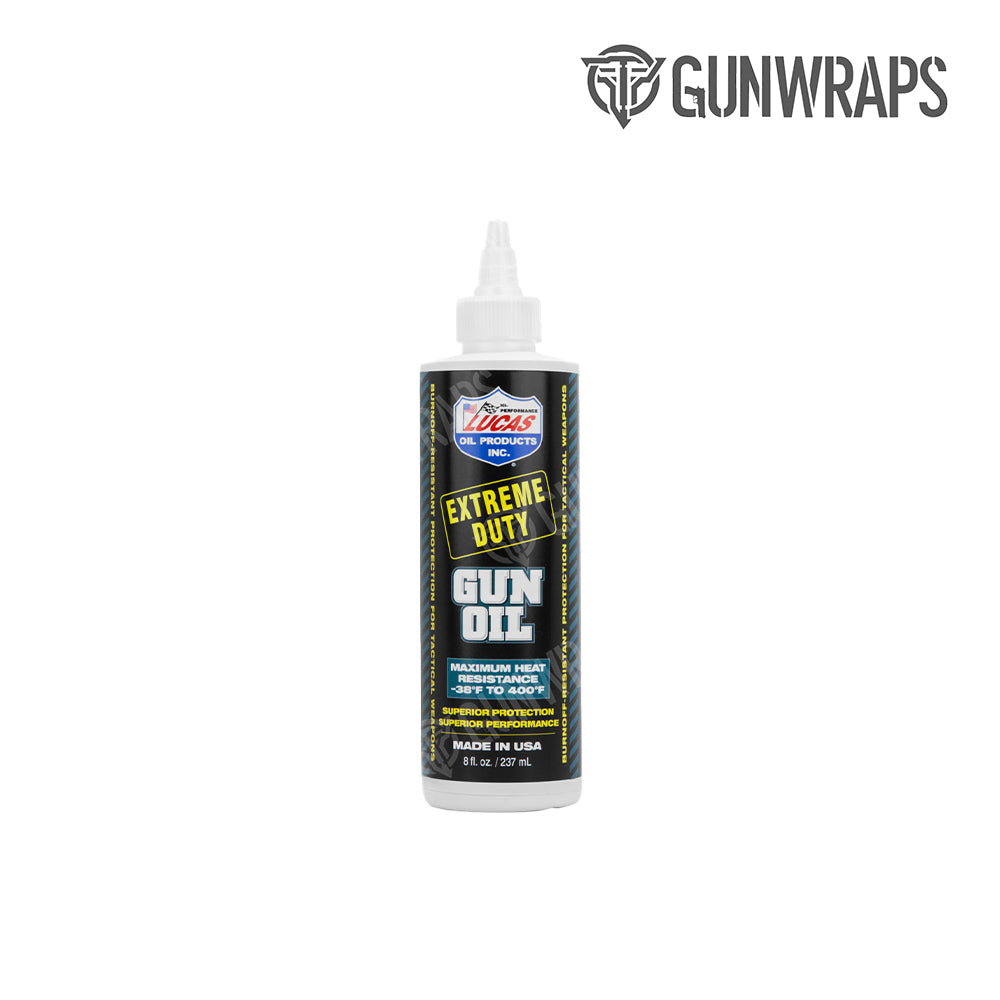


Step 1 - Cleaning: Before wrapping your handgun, it is vital to thoroughly inspect, prep, and clean the surface of your gun. Make sure your gun is empty before beginning the application process. Oil and grease will be present and must be removed. If not, the material will not properly stick to the surface. We recommend using a degreaser formulated for guns to remove any oil or grease from your gun's surface.
Isopropyl alcohol should be used to remove any residue left behind. It is helpful to use a small soft brush to scrub into the crevices of your handgun to ensure that your gun is clean. Wrapping your handgun with your bare hands may add natural oil or grease to your gun, so we recommend washing your hands with dish soap after cleaning your gun prior to installation.

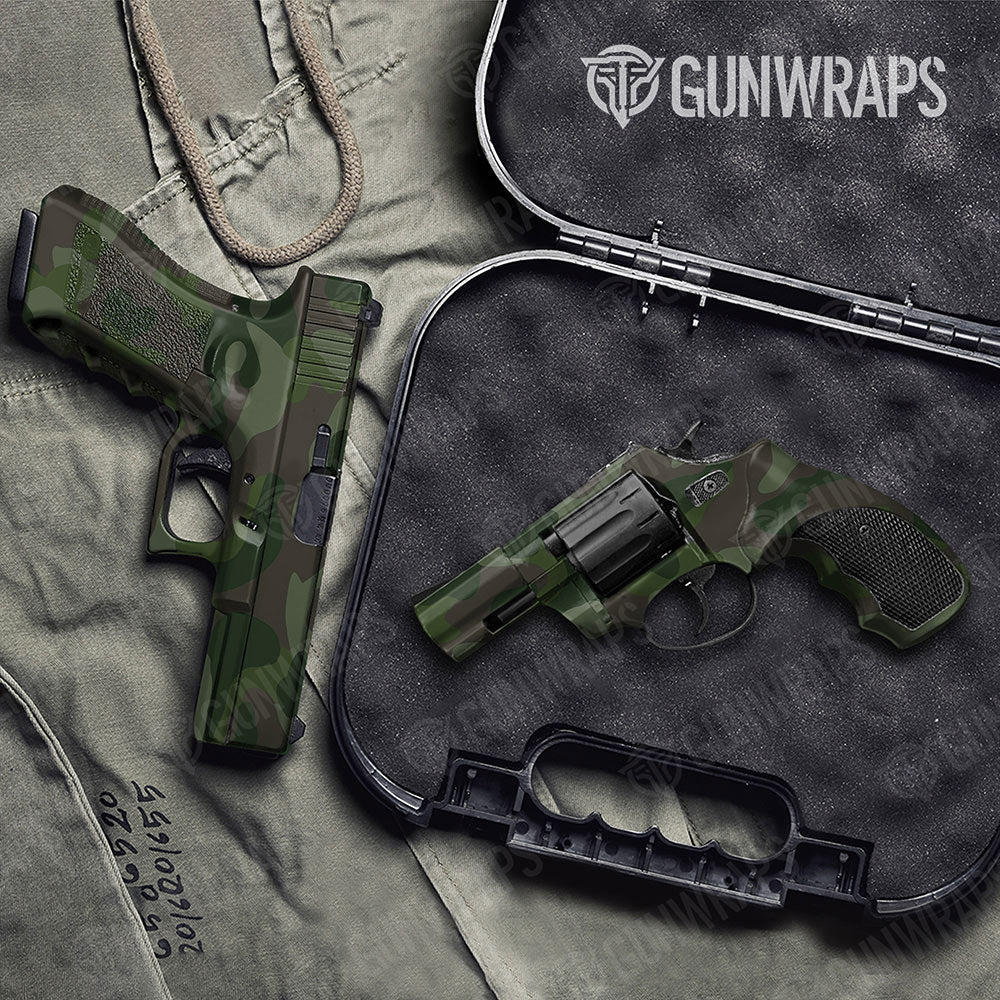
Step 2 - Alignment: (If you are installing to a revolver skip this step). Now that your handgun is clean to the fullest extent, it's time to install your GunWraps' handgun wrap! As you can see from the sheet of material you received, there is a piece labeled "Slide". Slide pieces will need to be applied first to align for a seamless pattern.
There are also red tabs on the sheets labeled front (except for solid color & textured wraps). Apply the slide center to the top as best as you can, use the v notches to help center your wrap. In the next steps you will be applying all the pieces in the same direction based on the tabs labeled front. Apply facing the front barrel. Firmly press the material to allow it to stick to the surface and apply down the left and right side of the slide as well. See below.

After you have installed the wrap to the slide you will now need to trim all the excess wrap around the slide for a finished look. See below

Step 3 - Primer: (Optional step) Apply primer in problem areas that can lift in the center of the gun to help with the longevity of your wrap. See below.

Step 4 - Cut Tape: (Optional step) You can use our green cut tape to help align a straight cut when trimming or overlapping your wrap. Offset the tape so that it is positioned slightly over the center of the gun. You may trim without this cut tape if you are comfortable. Apply to the right side of the center of the gun. See below.


Step 8 - Cut Tape: (Optional step) You can use our green cut tape to help align a straight cut when trimming or overlapping the wrap. Offset the tape so that it is slightly over the center of the gun. You may trim without this cut tape if you are comfortable. Apply to the left side of the center of the gun. See below.


Comments
I need a Batman gun wrap