

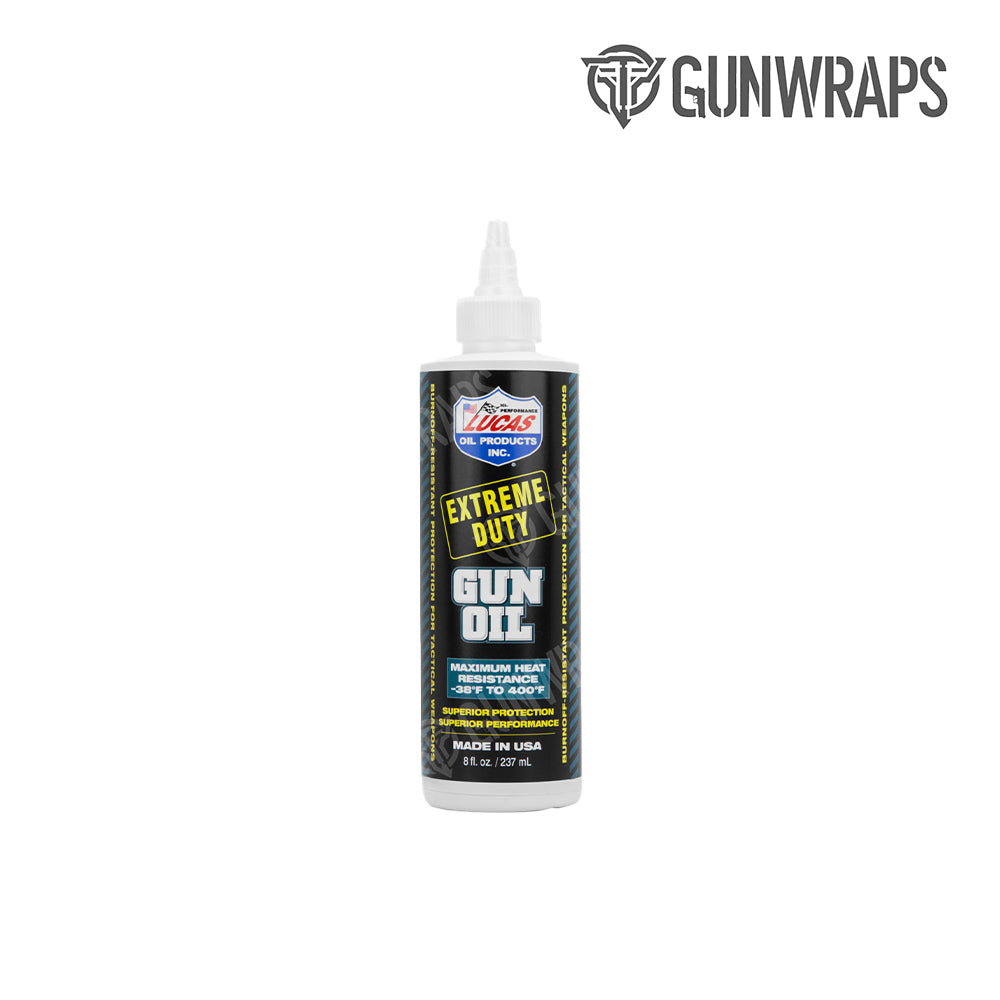


Step 1 - Cleaning: Before wrapping your Tactical Firearm, it is vital to thoroughly inspect, prep, and clean the surfaces being wrapped. MAKE SURE YOUR FIREARM IS UNLOADED before beginning the application process. Oil and grease will be present and must be removed. If not, the material will not properly stick to the surface. We recommend using a degreaser formulated for guns to remove any oil or grease from the surface of the firearm.
Isopropyl alcohol should be used to remove any residue left behind. It is helpful to use a small soft brush to scrub into the crevices of your firearm to ensure that the entire surface to be wrapped is clean. Wrapping your firearm with your bare hands may add natural oil or grease to the surface, so we recommend washing your hands with dish soap after cleaning your gun prior to installation.

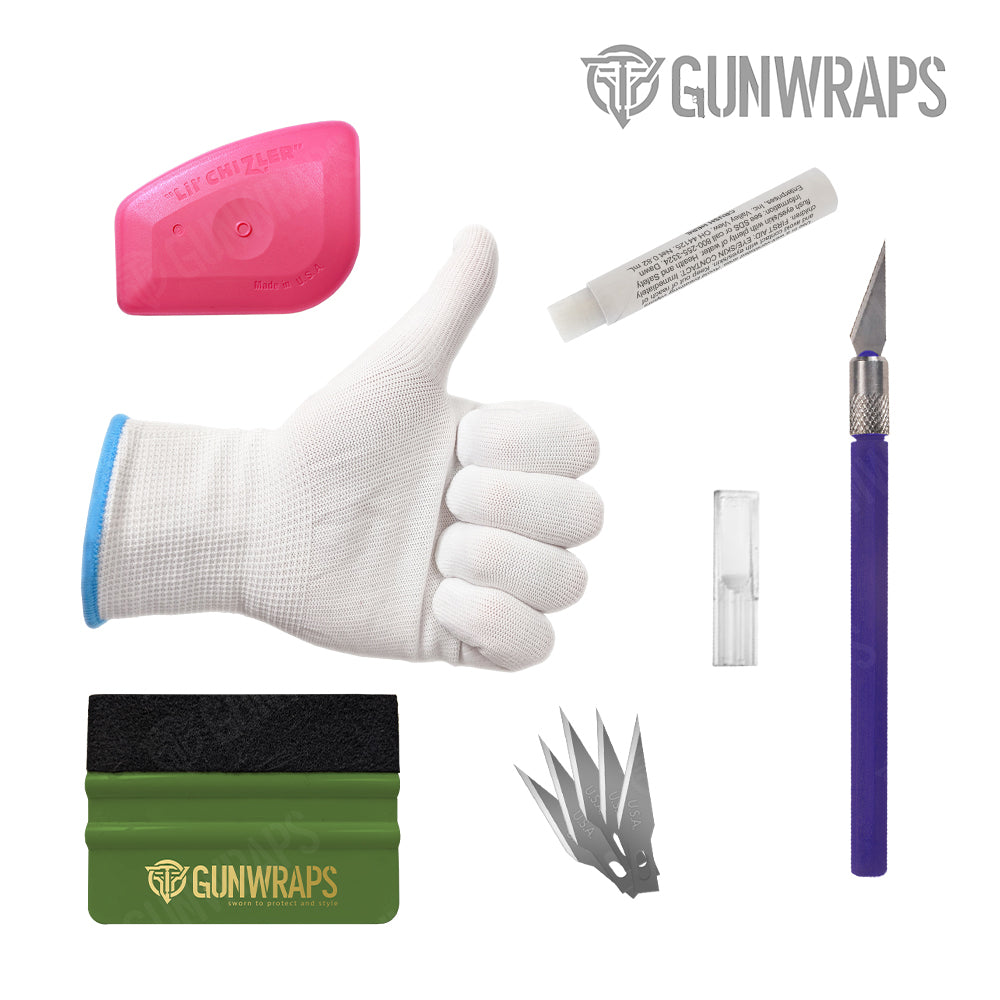
Step 2: Look at the pre cut pieces included in your kit. Take your time removing pieces from the backing of the sheet as they can tear.

Step 3: Place pre cut pieces one at a time on the corresponding parts of your firearm. Perform Step 4 on each part prior to placing and wrapping next part of the firearm.

Step 4: Thoroughly work film onto the surface of the firearm. Use heat when necessary to stretch and help film to conform to the shapes of the surface. It is recommended to use a wrap glove or squeegee to carefully apply film to surface to avoid any bubbles or wrinkles. If bubbles or wrinkles do occur, simply lift vinyl and give a short burst of heat to film to bring back to original shape and re apply. Allow film to cool then trim any excess film. Once entire part is wrapped and trimmed, apply heat and firm pressure on all wrapped surfaces, this will solidify the bond between the film's adhesive and the surface of your firearm.

Step 5: Re assemble any parts of the firearm that may have been removed for the installation process and enjoy your new gun wrap!


